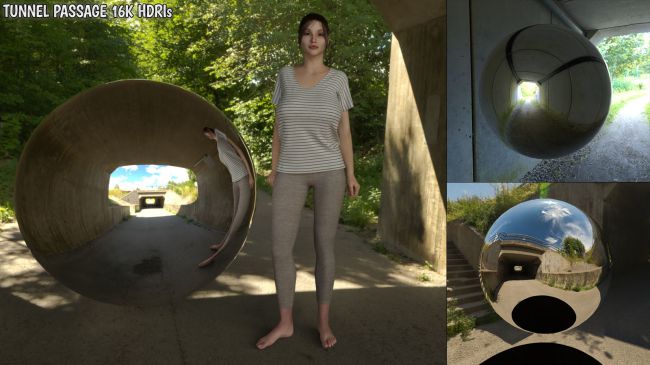
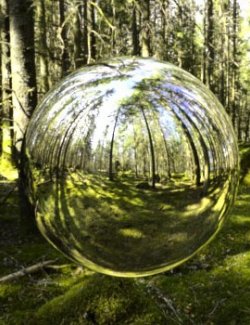
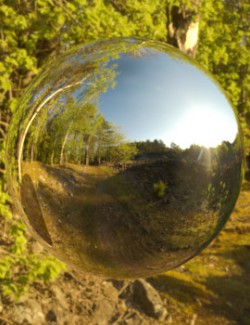
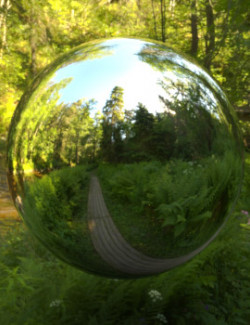
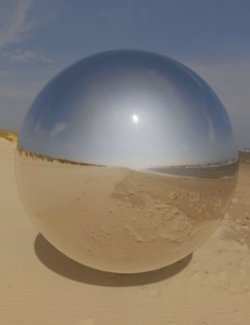
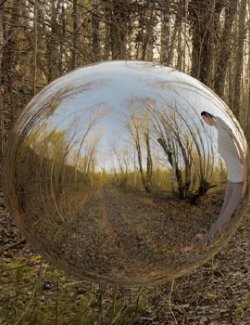
Enjoy 3 Super high resolution HDRIs for your renders! Each HDRI is available in 16, 8, 4, and 2K resolution.
This package contains 3 tunnel passages, one small passage under a railroad, one full-sized walking tunnel passage and one exterior with sunlight, between two tunnels. Perfect for urban scenes, or if you use them only for lights, with another tunnel or cave (or even portraits with some extra backlight), they work very well as dual-side from two directions.
The 16K HDRI is very useful if you want to render it both as a light emitter and a background. As the image is wrapped around a sphere, more resolution is needed than a flat background image in order to preserve detail. With a 16K HDRI you will be able to retain a sharp and clear background even for high resolution render. However, it is somewhat taxing on graphics resources, so if you are rendering a smaller image, use a narrow depth of field, or only need it for the lighting, the 4K or eve 2K is more than sufficient, the lighting quality will be pretty much the same.
What is an HDRI? An HDRI is a 24 or 32-bit equirectangular image wrapped inside a sphere, providing realistic lighting from all directions. Not only this, the high dynamic range in the image contains information beyond the visible eye, which enables it to cast lights, shadows and produce highligts in reflections. Each photo in an HDRI is taken with multiple exposures, ranging from dark to super bright, then combined to form an image with higher dynamic range. These HDRIs have a dynamic range of 12-24 EVs. 24Evs for the third image which has full sun exposure.
16K = 16000 x 8000
8K = 8000 x 4000
4K = 4000 x 2000
2K = 2000 x 1000
A 2K .jpeg promo is also included so that you can easily preview the HDRIs without having to load them first.
Please note, that the 16K files are large in size, around 350MB each, the other archives around 120MB, so if you have a slow internet connection be prepared for longer download times. The 8, 4 and 2K HDRIs are all gathered in one single zip file.
How to use - Daz Studio:
----------------------------
Simply load the HDRI in the environment tab in your render settings. If you want it to cast stronger lights and shadows, increase intensity, and if you want to change the exposure, change the exposure in the Tonemapping tab under the render settings.
How to use - Poser:
----------------------------
Best way is to download BB´s Environment Sphere (Free)
Alternatively you can set it on the Background material, although it may make rotating the HDRI a bit more tricky.
(Hide the Ground prop, (or the background material of the Ground prop) and go to the Background, and add from Cycles and Environment Texture node. )
The HDRIs come in its own folder, so whether you use it in Daz Studio, Poser or a different program, simply locate the folder where you installed your HDRIs
Requirements: Any program that can open and use .hdr files
