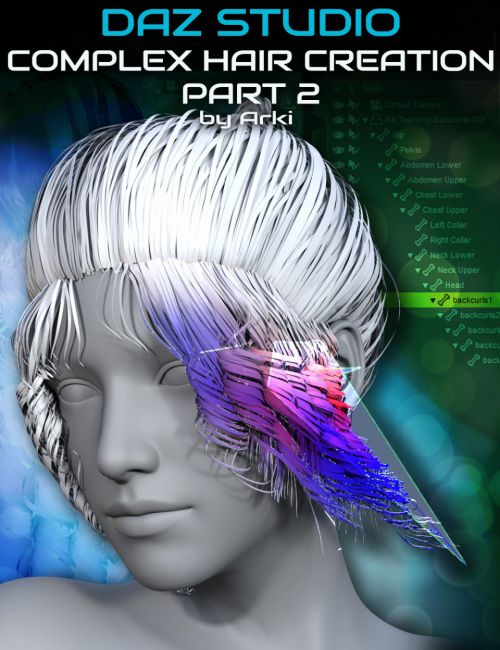
Have you wanted to create attractive hair for Daz Studio, but got stuck on knowing where to start and how to handle a project such as this? Arki (Kim Schneider) breaks down this project in detail, simplifies the approach and takes you through the steps in this three part tutorial (this is part 2). This was originally broadcast as a series of live webinars to a class that followed along with her techniques and created their own hair sets.
Requirements: Familiarity with Hexagon. Familiarity with ZBrush enough to create a simple morph.
Video length: 1 hour 57 minutes
Tutorial video includes indexing so you can click and jump to different topics with ease.
Part 2 :Hair Rigging for all Situations - Plain and simple or advanced options
1 - Quick rigging of the hair base
* Using Daz Studio's Transfer utility to rig and autofit the base hair model
2 - Rig the ponytail, optional with multiple segments
* Advanced rigging for the accessories
3 - Create one morph as example for morph creation
* Using Hexagon or ZBrush to create a simple morph (for example to fit the jewelry over the base hair)
About the Presenter : Kim Schneider (Arki)
Kim attended the University of Applied Sciences in Münster, North Rhine-Westphalia where she received a Bachelor of Arts degree in Media Design and Illustration.
Over the years Kim has done work in the role-playing game industry applying her illustration skills for RPG games such as Engel for Feder & Schwert, Redaktion Phantastik, and the Pegasus Spiele game—Call of Cthulhu.
Her journey into 3D Digital Art began in 2000 with Poser (yes fourteen years of Poser experience!), then Poser Pro and started vending Poser content in 2006. She's since been now hard at work at creating content for Daz Studio.
She delves into other packages occasionally including Photoshop, Quixel, ZBrush, Hexagon, UV Mapper Pro and UV Layout in her workflow.
What's Included and Features
- Session 2:
- 00:00:00 Intro
- 00:01:22 Overview of the Session
- 00:04:15 Slideshow of the Process
- 00:06:10 Start the demonstration by importing the OBJ
- 00:06:46 Notes about scale and options
- 00:08:35 Using the Transfer Utility
- 00:10:30 Naming Conventions and Parenting
- 00:13:41 Saving the Hair Model
- 00:18:22 1st Question & Answer Session
- 00:24:25 Adding the Long Tail
- 00:26:43 Define new Geometry for new Bones
- 00:31:48 Creating Bones
- 00:34:20 Assigning a Group to the Bone
- 00:39:04 Assigning Weight Maps to the Groups
- 00:45:34 Using "Smooth Weight Maps"
- 00:47:01 2nd Q&A
- 00:47:02 What Weight Maps Do
- 00:58:02 Creating Hair Morphs
- 01:04:00 Changing the Morph Parameters Setting, Including Name
- 01:04:58 Locations of Morphs and Naming Conventions
- 01:07:30 Adjust Naming in Morph Loader Pro instead of Parameters
- 01:11:19 Saving Morphs
- 01:14:05 Final Q&A
- 01:33:22 Mark's Work
- 01:39:41 Bee's Work
- 01:46:19 Seaghan's Work
- 01:57:26 End Credits
Notes
- This product includes:
- 1 General Installer
Install Types:
Install Manager, Manual Install


