Enjoy 3 Super high resolution HDRIs for your renders! Each HDRI is available in 16, 8, 4, and 2K resolution.
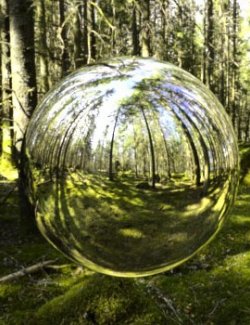
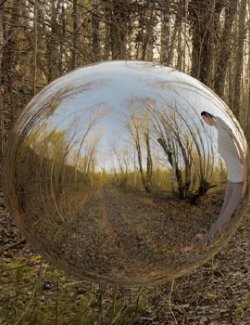
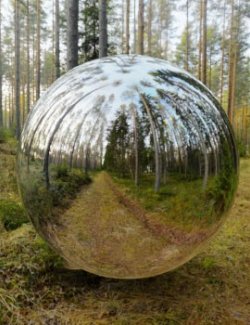
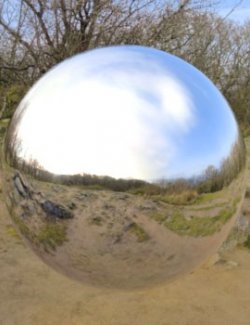
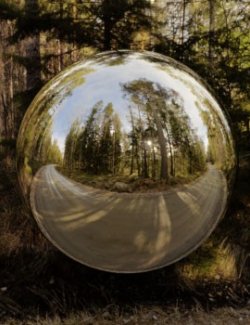
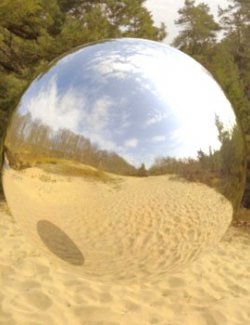
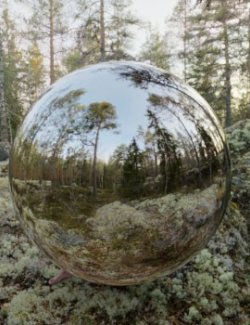
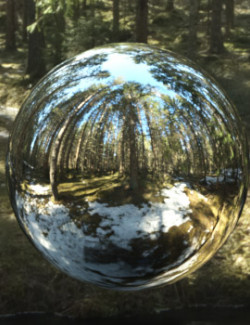
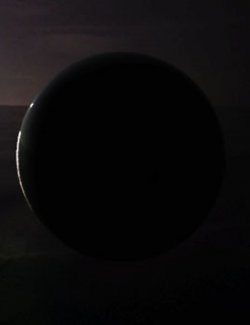
This package contains 3 late spring forest scenes, in shade and late sunset with a gentle glow. It captures the evergreen forest right at the end of spring where there is some ice left, and the ground is mossy.
The 16K HDRI is very useful if you want to render it both as a light emitter and a background. As the image is wrapped around a sphere, more resolution is needed than a flat background image in order to preserve detail. With a 16K HDRI you will be able to retain a sharp and clear background even for high resolution render. However, it is somewhat taxing on graphics resources, so if you are rendering a smaller image, use a narrow depth of field, or only need it for the lighting, the 4K or eve 2K is more than sufficient, the lighting quality will be pretty much the same.
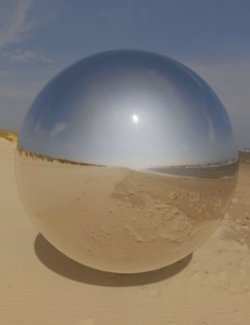
What is an HDRI? An HDRI is a 24 or 32-bit equirectangular image wrapped inside a sphere, providing realistic lighting from all directions. Not only this, the high dynamic range in the image contains information beyond the visible eye, which enables it to cast lights, shadows and produce highligts in reflections. Each photo in an HDRI is taken with multiple exposures, ranging from dark to super bright, then combined to form an image with higher dynamic range. These HDRIs have a dynamic range of 12-24 EVs. 24Evs for the third image which has full sun exposure.
16K = 16000 x 8000
8K = 8000 x 4000
4K = 4000 x 2000
2K = 2000 x 1000
A 2K .jpeg ref is also included so that you can easily preview the HDRIs without having to load them first.
Please note, that the 16K files are large in size, and can be slow to load in your program, but for higher resolution renders with the HDRI as a background, they will look much sharper.
How to use - Daz Studio:
Simply load the HDRI in the environment tab in your render settings. If you want it to cast stronger lights and shadows, increase intensity, and if you want to change the exposure, change the exposure in the Tonemapping tab under the render settings. You can also set things like gamma and contrast.
How to use - Poser:
One way is to download BB´s Environment Sphere (Free) (Good for older versions of Poser)
For Poser 11 and up you can use Poser's Backgroun material. Plug an EnvironmentTexture into the Color output, and make sure "cast light" is checked. Then plug a "mapping" and "TextureCoordiates" if you want to rotate it.
However, you now get a HDRI starting material included for Poser. Just unzip the Poser_Util zip into your runtime, and you will find it under materials/ShaaraMuse3D/Util/HDRI
Make sure you have the background material selected and load my default material and you can just select the HDRI file and you are good to go! You can rotate it by changing the "rotation" values. The second value will rotate it around the camera.
How to use - Any 3D program with HDRI support:
You don´t need Poser or Daz Studio to use HDRI´s, virtually any modern 3D render software will support them, like Blender, and even game engines.
The HDRIs come in its own folder, so whether you use it in Daz Studio, Poser or a different program, simply locate the folder where you installed your HDRIs
Related Prod
Software: Blender, Poser Pro 11, UNREAL Game Engine, UNITY, DAZ Studio 4 With IRAY, Poser 12, Poser 13