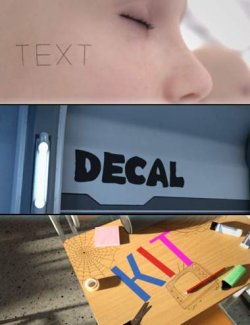
Decals — or rather, Iray Decal Nodes — are a bit more difficult to work with and differ significantly in their use from all other objects in DAZ. In return, however, you gain a level of flexibility and versatility that no other approach in DAZ can match. From independence from the Genesis version to the ability to position decals freely across UV (surface) boundaries, all the way to their use on nearly all 3D objects such as models, clothing, props, and so on—decals are highly flexible and allow users who enjoy experimenting to explore new avenues for creating interesting renderings.
In this tutorial, I'd like to show you how to use decals on models. In addition to the tutorial .pdf, the product also includes poses and a simple tribal sign. And if you follow these two basic rules, you'll avoid most of the mistakes that can quickly lead to frustration when working with decals:
1) First, set up the scene — including the pose, camera angle, and so on — exactly as you want it to appear in the final render. Only after that you should add a decal.
2) The blue arrow on the decal (Z-axis indicator) should always point toward the viewer or the camera.
What's included:
* a .pdf Tutorial
* 2 poses, including a zero pose, for both G8 and G9
* a 8k tribal sign as cutout map (see below)
* 4 simple material presets for the tribals sign
Attribution
---
The tribal sign .jpg used in this product is based on the free vector graphic (.eps) * Black Tribal Tattoo Vector * by Arief Sapta Adjie (vecteezy)
Requirements
* DAZ Version 4.15+
* Iray compilant graphics card (Decals can only be used with Iray!)
Manual installation to the following folder:
Props - Camouflage - Decal Tutorial