Have you ever rendered a scene in Daz Studio and wondered where the light's coming from? How to control it? How to make it brighter, darker, moody, sultry, or action-packed? Of course you have. That's the reason most of us are creating digital artwork!
Once we have the pose right, the scene set, and the characters in place, clothed, makeup applied, hair coiffed just so, with a sultry expression, it's time to bring the scene to life, and you can't do that without light and — a key ingredient in John's technique — shadows. Light focuses our attention on the key shapes in a scene, and shadows give definition and depth. Without good lighting, your renders will be flat and unappealing.
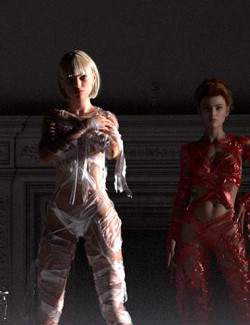
Working exclusively with the Iray Render Engine, we use real-world lighting techniques. In terms of terminology and the types of lights we put into our scenes, we use softboxes, reflectors, color temperature, high-key, low-key, studio portraiture, bodyscaping, Rembrandt lighting, using a mirror as a backdrop, god rays, and haze. We know what the rules are and when to break them. John expertly takes you through examples of these kinds of lighting and more. John creates the renders using only Daz Studio and freely downloadable lighting resources (such as HDRI files). You won’t need to use third-party software like Photoshop.
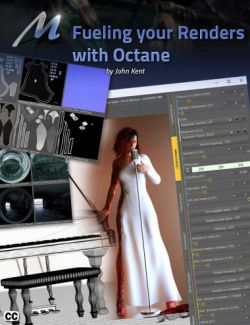
Did you know that there are 2 separate f-stop parameters in different parts of the Daz Studio interface, one that controls depth of field and one that controls scene brightness? John clearly explains these and the other parts of Daz Studio that make lighting confusing, highlighting the key parameters that actually make a big difference to a scene.
Painting with light is an artistic skill that the movie industry has long recognized as key to creating mood and feeling. Understanding the settings and how and when to use them will help you to create more photorealistic renders without the frustration of adding light after light to a scene without knowing in advance what they will actually achieve. After getting to grips with digital lighting mechanisms and the relevant Daz controls, John describes several rules that help you avoid common lighting errors, such as boring ‘flat’ light and shadows that go in impossible directions. Crucially, John explains when to break the rules and shows how lighting techniques that look terrible in some scenes can make others pop with energy.
Note: Although this product is available by single episodes, we highly recommend purchasing the bundle because each episode builds on information from the previous and, for time considerations, is not repeated in every episode.
Bonus for Bundle purchasers: We have included the custom IES Profiles that are demonstrated in Episodes 4 and 5.
All in all, there are over 8 hours of content that will leave no question in your mind about how to light whatever scene you have in your imagination.
Each episode is professionally edited, sound balanced, and closed-captioned for ease of search and all include a PDF index of key points for ease of reference.
Part 1 - Using Daz Default lighting Efficiently (1 hour 35 minutes)
Ever wonder where the light is coming from even when you haven't added any lights to a scene? Daz opens with a default HDRI image… an image that can be changed, swapped, moved, turned on, turned off, made brighter, made darker, or made to represent a particular place on the planet at a particular time. HDR is a very sophisticated lighting tool once you understand it.
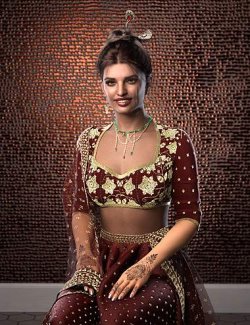
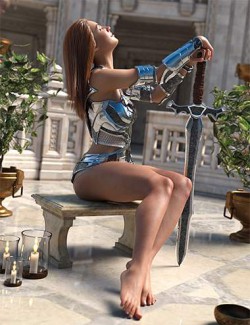
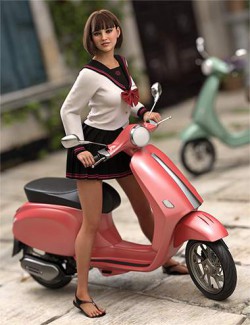
There are a lot of settings for you to work with to make 'Dome' lighting — the Daz term for HDRI lighting — work well and efficiently, not to mention customize your interface for the maximum effect of painting with light. John explains each setting and demonstrates different HDRI files and, using a single model, shows the different lighting effects that you can achieve without adding a single light to your scene.
In fact, it’s so efficient, that all the final renders you see in the promotional images are the same model, in the same clothes, in the same position, and with the same camera angle. Only the HDRI map was changed and tweaked slightly.
About the Presenter - John Kent
I'm a self-taught digital artist with a background in software tools and professional photography. These 2 worlds came together when I discovered 3D composition and rendering environments. With these tools, I can exploit light, shape, and texture to build scenes that would be almost impossible for me to stage using real-world photography, rapidly iterating from initial visual sketches to compelling photorealistic art. I also enjoy teaching and mentoring others, so I'm glad to work with Meshology to help other artists develop and render their own digital visions.
Watch the Teaser
What's Included and Features
- Killer Lighting - Lighting for Photorealistic Renders - Part 1 Using DS Default Effectively
- Video 1: 47 Minutes (.MP4)
- 00:00:00 Intro
- 00:01:27 What is Killer Lighting?
- 00:03:10 Series Breakdown
- 00:03:18 Episode 1: The Basics
- 00:05:15 Episode 2: Scene Lighting Techniques
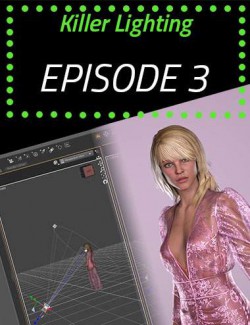
- 00:05:49 Episode 3: Studio Low Key Lighting
- 00:06:05 Episode 3 (continued): Studio High Key Lighting
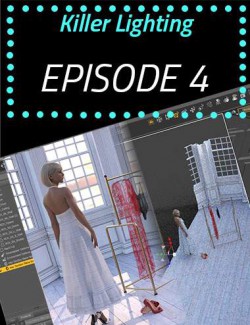
- 00:06:16 Episode 4: Indoor Lighting
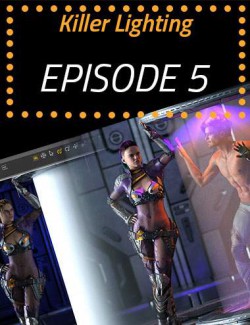
- 00:06:30 Episode 5: Outdoor Lighting
- 00:06:38 Episodes 4 & 5: Emissive Lighting
- 00:06:48 Episode 5 (continued): Atmospheric and Volumetric Lighting
- 00:07:52 Where does the default DS lighting come from?
- 00:08:43 Changing the Draw Style in the Viewport
- 00:10:01 Understand DS default lighting before adding more lights
- 00:10:42 Create a DS Lighting Interface for efficient workflow
- 00:10:56 How to close a pane in DS
- 00:11:09 How to add a pane in DS
- 00:12:58 Various way to access the same settings withing DS
- 00:13:41 Creating your Renders
- 00:14:52 Options for Less Powerful Computers
- 00:15:45 Create a Light Probe and Its Uses
- 00:17:25 What does a Light Probe do?
- 00:18:15 Creating a Rendercam
- 00:18:36 Splitting the Viewport
- 00:19:55 DS default lighting
- 00:22:22 How to return to DS default lighting, all at once
- 00:24:11 Changing the environment lighting
- 00:24:24 Environment Mode
- 00:26:26 Dome Mode
- 00:26:58 Draw Dome
- 00:27:25 Environment Intensity
- 00:28:43 Environment Map
- 00:29:34 Changing the Environment Map (HDRI)
- 00:30:14 How to preview HDRI files in Windows
- 00:31:32 Where to find free HDRI files
- 00:32:20 What to notice about HDRI files
- 00:33:05 What is an HDRI file
- 00:33:46 Demonstration of why you need color in an HDRI map
- 00:35:01 Changing the Environment Map
- 00:35:34 Which HDRI file to use?
- 00:37:49 HDRI Dome Rotation
- 00:39:42 Changing the lighting by changing the HDRI
- 00:41:01 Intensity and Rotation don't change
- 00:41:39 No lights in the scene at all... yet
- 00:42:05 Frozen Waterfall HDRI
- 00:42:53 Circus Backstage HDRI
- 00:43:37 When to use different color temperature lights
- 00:44:14 Chelsey Stairs HDRI
- 00:45:13 The takeaway from changing an HDRI file
- 00:46:29 Products used in the production of this tutorial
- Video 2: 48 Minutes (.MP4)
- 00:00:00 Intro
- 00:01:15 What is Tone Mapping
- 00:01:53 Tone Mapping should be Enabled
- 00:02:07 DS equivalent of Camera Controls
- 00:02:46 What does the Shutter Speed Change?
- 00:03:28 What is the F-Stop?
- 00:04:28 Confusing aspects of the DS interface and terminology
- 00:05:23 By selecting Rendercam in Parameters...
- 00:06:06 The Camera Focal Length is the type of the lens
- 00:06:16 Camera Depth of Field (DoF)
- 00:06:34 F-Stop in Camera Parameters vs. F-Stop in Tone Mapping
- 00:08:15 Using the Camera F-Stop
- 00:11:08 What is the ISO in Tone Mapping?
- 00:12:15 Results of changing the ISO
- 00:14:17 Which control should you use to change the brightness
- 00:16:15 Iray Windows & Auto Exp/WB Button & what does it do?
- 00:17:07 Using what we have learned so far, lighting a scene
- 00:17:29 Turn off Iray in the Viewport before loading a new scene
- 00:18:24 Creating a small studio
- 00:21:00 Changing the look and feel by changing the camera angle
- 00:21:35 The Reason for using a telephoto lens in a studio or portrait
- 00:23:02 Effect of Rotating the Dome
- 00:23:46 Chelsey Stairs HDRI
- 00:26:36 Catch-Light in the eyes is very important for realism
- 00:27:12 Firefly & artifacts will disappear as the render builds
- 00:27:35 Getting rid of the square in the middle of the face
- 00:28:19 Changing the mood
- 00:28:29 Helipad at Golden Hour HDRI
- 00:30:17 Arches Pine Trees HDRI
- 00:32:35 Factory Catwalk HDRI
- 00:34:23 White Balance. What it is and when and where to use it.
- 00:35:13 Tone Mapping: White Point
- 00:38:40 Resetting the White Balance
- 00:39:03 Ford Ordinance Building HDRI
- 00:39:34 Never blast the subject with light, especially from the direction of the camera
- 00:40:02 Change the camera angle to change the mood
- 00:40:42 Tone Mapping & Saturation
- 00:41:18 Burning Highlights and Crushing Blacks
- 00:41:46 Changing the Background color
- 00:43:26 Summary
- 00:46:24 Final Renders
- 00:47:14 Products used in the production of this Tutorial 00:00 introduction
- Documentation: (.PDF)
- Killer Lighting Episode 1 Index
Compatible Software:
Daz Studio 4.15
Install Types:
DazCentral, Daz Connect, DIM, Manual Install