Product Requirements: Unreal Engine 4.14 (no tested on other versions) / Windows 10 (not tested on Mac).
PACKAGE CONTENT
1 Snow particles system project package (FirstPersonGameMode).
USE & CUSTOMIZE
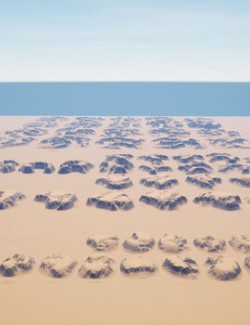
At the opening of the project: Go to the root of the content folder and click on SnowSystem map (level). Click on play button to view the snow in action, A latency of 3 seconds is required before the snow falls (this can be changed from the blueprint level). Then you will see the snow fall and cover the ground gradually. All these parameters can be modified (see below).
LEVEL BLUEPRINT:
The level blueprint contains the animation and event nodes to calculate: the accumulation of snow on the ground. Speed and quantity are adjustable from the snow_template. Open it from:
top menu > Blueprints > Open level blueprint > double click on timeline node named "snow". Click on keyframe and adjust at your convenience the time and value.
The snow particle system is named "P_Snow" and located in sub folder "Particles" (content>SnowSystem>Particles).
GROUND MATERIAL:
You can easily change the ground texture, here is the process:
Go to SnowGenerator sub folder (content>SnowSystem>SnowGenerator) and double click on sphere material icon named "M_SnowGen".
Locate in the table of the nodes, the commented window called "textures", 4 textures are present, 2 diffuse (1024x1024) and two normal (1024x1024).
Are its textures that you can replace without risking destroying the base material. Do not forget to apply and save your new material.
TEXTURES PROVIDED:
- 2 rocks textures Diff .TGA (1024x1024)
- 2 rocks textures Norm .TGA (1024x1024)
- 1 snowflake .PNG (512x512)
Software: UNREAL Game Engine

