Boot Modeling Video Tutorial preview image 0Boot Modeling Video Tutorial preview image 1Boot Modeling Video Tutorial preview image 2
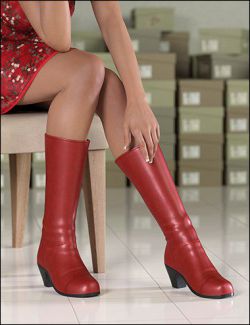
This tutorial will take you step-by-step through the process for modeling high-heel boots for Genesis 3 or Genesis 8. The focus is on polygon modeling but the tutorial will briefly cover UV mapping, texturing, and rigging. The video resolution is 1920x1080. The format is mp4.
What's Included and Features
- Tutorial Outline:
- Intro
- Modeling boots using polygon modeling – the focus is on modeling but will briefly touch on uv mapping, texturing, and rigging.
- Software Used
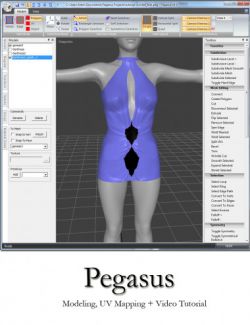
- Pegasus Modeler 4 (any modeling program that supports subdivision will work)
- Substance Painter 2 (optional for normal map generation and texturing)
- Wrinkle 3D (optional to create some wrinkles)
- Daz Studio (export dummy, materials, rigging, rendering)
- Setup
- Setup and Export modeling dummy from Daz Studio – You can use Genesis 3 or Genesis 8 as you target model.
- Import into Pegasus
- Modeling
- Sole
- Part 01
- Part 02
- Part 03
- Part 04
- Heel
- Sole Edge and Boot Top
- Boot Top
- 4 Parts
- Rough Material Zones
- Sole Ridge
- Top Trim
- Final Material Zones
- Sole
- UV Mapping
- Export Obj
- Wrinkle 3D (optional)
- Create folds to be used in normal generation
- Texturing
- Color and normal
- Edges
- 2 Parts
- Stitches
- Exporting textures, Setup Shaders in Daz Studio
- Rigging in Daz Studio (optional – brief coverage)
- Wrap Up
- Things you may want to do to finish
- Morphs for body shapes (Victoria, Aiko, etc.)
- Corrective morphs
- Improve rigging
- Alt textures and normal maps
- Use model as starting point to make high-heel shoes
- Things you may want to do to finish
Notes
- This product includes:
- 2 General Installers
Install Types:
Install Manager, Manual Install
Daz3d
Where to buy:
https://www.daz3d.com/boot-modeling-video-tutorial