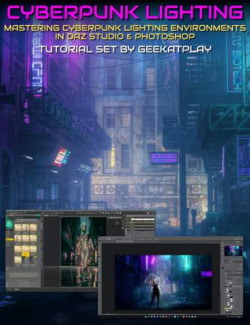
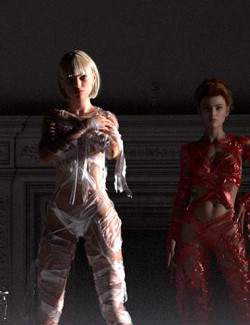
Click on image to see gallery.
Warning! Some images may contain nudity and are not suitable for all viewers.
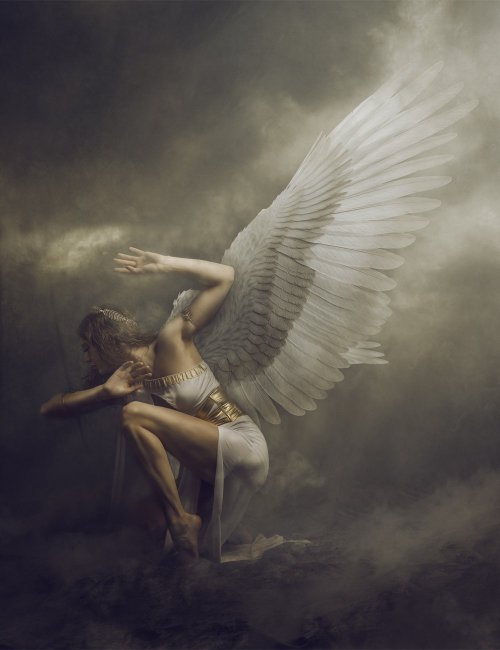
Descended Angel Video Course: Digital Compositing with Daz Studio and Photoshop preview image 0Descended Angel Video Course: Digital Compositing with Daz Studio and Photoshop preview image 1In this course, we will be working with posing, lighting, and rendering digital components inside Daz Studio with references to the model poses, as well as looking for the best way to create digital photos that can be used in our compositing work.
After importing created assets into Photoshop, we will be combining them into the digital artwork by using different techniques with blending modes, overlays, retouching, and more.
This course was created for beginners and intermediate artists, but even advanced users will learn some techniques.
The theme for this art is inspired by classical mythological painting. Techniques and colorization in post-work can be easily applied to many different types of your artwork to help elevate it to the classical look.
The course is split into 7 video parts, plus additional resource files that help you to follow along with the tutorials.
This course includes - 7 videos:
Introduction to the project
Optional - Photography tips for compositing photos and how to set up lighting, select the background, and more
Optional - Getting assets in the Daz store and personal tips
Set up and render compositing assets in Daz Studio, as well as how to use reference images for posing, camera angles, and render settings
Compositing in Photoshop, setting up canvases, importing and blending textures, assets, and backdrops
Lighting adjustments and enhancement
Color overlay to create a classic painting look
What's Included and Features
- Descended Angel, Digital compositing with Daz Studio and Photoshop
- Video 1 : 1 minutes (IntroductionToTheProject-1.MP4)
- 00:00 Overview of the project
- Video 2 : 13:45 minutes Optional-PhotographyTipsForCompositing-2(.MP4)
- 00:00 overview of the model posing and lighting
- 3:36 lights placement for compositing photoshoot
- 6:13 3d environment in 2d world, how does it work
- 9:21 matching focal length between the camera and Daz Studio
- Video 3 : 7:06 minutes (Optional-TipsAboutDazStore-3.MP4)
- 00:00 Getting resources from Daz Store online
- Video 4 : 24:57 minutes (SetupAndRenderAssetsInDazStudio-4.MP4)
- 00:00 creating reference image
- 3:40 setting up a reference image in Daz Studio
- 5:53 posing wings in Daz Studio based on reference
- 12:36 setting up lighting
- 23:28 rendering assets
- Video 5 : 26:52 minutes (Compositing-1-RetouchingModel-5.MP4)
- 00:00 review rendered wings
- 1:28 setting up the canvas in photoshop
- 5:23 importing wings
- 7:53 retouching model, preparing for compositing
- 11:24 asking smoothing techniques
- 19:51 cleaning hair techniques
- 24:40 importing sky and rock texture
- Video 6 : 27:08 minutes (Compositing-2-BlendingComponents-6.MP4)
- 00:00 blending in sky and clouds layer
- 5:05 compositing in wings
- 10:39 blending in ground texture
- 13:10 dodge and burn techniques
- 18:12 adding god rays
- 23:16 Adding clouds and dust blending elements
- 24:56 customizing brushes for fog elements
- Video 7 : 17:45 minutes (Compositing-3-LightingAndColorAdjustment-7.MP4)
- 00:00 blending in edges of the wings
- 5:04 global lighting
- 8:03 enhancing details and textures
- 10:08 adding grain
- 11:31 color adjustment with curves
- 12:46 color overlay with a selective colors adjustment layer
- 15:14 saturation adjustment
- Resources: (.ZIP)
- Reference image for use in Daz Studio
- Digital photo of the model
- Rought stone texture
- Sky with clouds backdrop
Install Types:
DazCentral, DIM, Manual Install
Where to buy: Daz3d
Publish date: May 14, 2022
